
The Short Answer
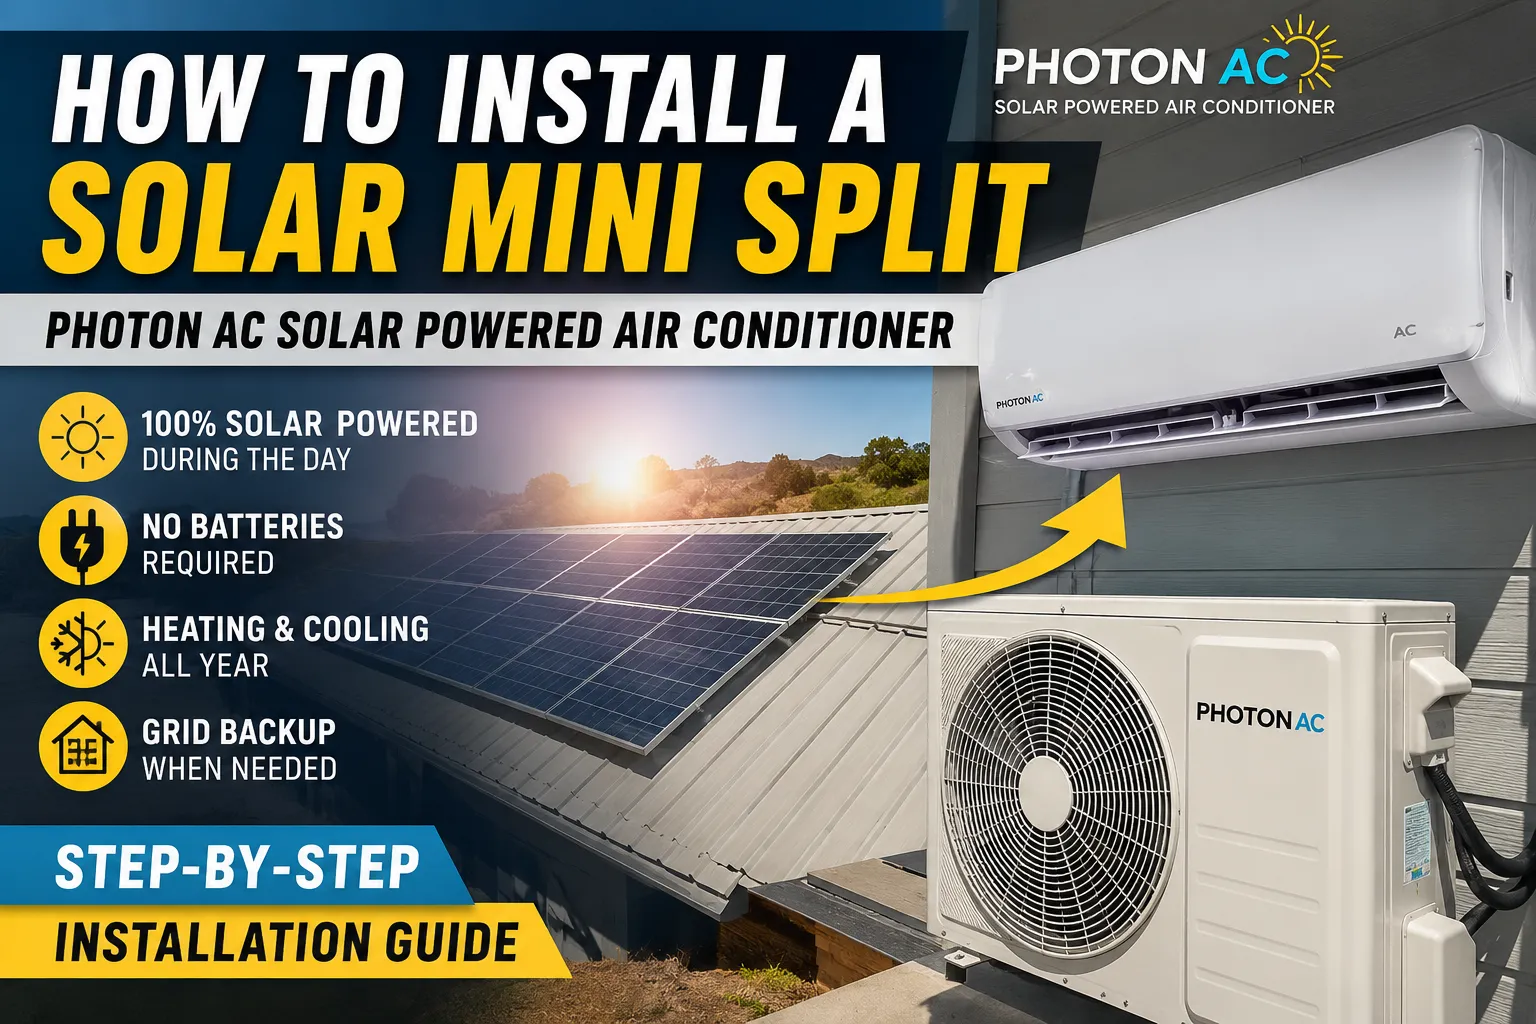
Installing a Photon AC solar-powered air conditioner takes six steps: choose your locations, mount the indoor air handler, set the outdoor condenser, connect and vacuum the line set, mount and wire the solar panels, then power on and test. Because Photon AC is a complete kit with no inverter, the solar panels wire directly to the unit. A licensed HVAC technician should handle the refrigerant line set and vacuum step. Most single-zone installs are finished in 4–8 hours.
Watch the Full Installation Video
See the entire process from start to finish. This walkthrough shows exactly how a Photon AC solar mini split goes from boxed kit to free, sun-powered cooling.
What You'll Need Before You Start
In the Box (Complete Kit)
- Indoor air handler and outdoor condenser
- Solar panels and mounting hardware
- DC wiring and connectors
- Refrigerant line set
- Mounting bracket and drain hose
Tools to Supply
- Drill with 3-inch hole saw
- Level and stud finder
- Adjustable and torque wrenches
- Vacuum pump and manifold gauge set
- Screwdrivers and wire strippers
Step-by-Step Installation Guide
Choose and Prep the Locations
Start by selecting three locations. Pick an interior wall for the indoor air handler with clear, unobstructed airflow into the room. Choose a shaded, well-ventilated exterior spot for the condenser. Finally, identify a sun-facing area — south-facing in the Northern Hemisphere — for the solar panels, free of shade from trees, chimneys, or rooflines. Good placement here is what makes the rest of the install easy and keeps your system producing free daytime power.
Mount the Indoor Air Handler
Use a stud finder and level to fix the wall mounting bracket securely. Then drill a 3-inch pass-through hole through the wall, angled slightly downward toward the outside so the condensate drain flows by gravity. Feed the line set, drain hose, and control cable through the hole and hang the air handler on the bracket.
Set the Outdoor Condenser
Place the condenser on a level pad or a wall-mounting bracket. Keep the manufacturer's clearances around it for airflow and future servicing. A level condenser runs quieter and drains correctly, so take the time to shim it flat.
Connect the Line Set & Vacuum the System
Connect the refrigerant lines, drain, and control wiring between the indoor and outdoor units, torquing each flare fitting to spec. This step requires a licensed HVAC technician: pull a vacuum on the lines with a manifold gauge set to remove all air and moisture, then release the factory refrigerant charge. Skipping the vacuum is the most common cause of premature failure.
Mount & Wire the Solar Panels
Install the included solar panels on your sun-facing surface using the supplied mounting hardware, tilted to roughly your latitude. Run the included DC wiring from the panels directly into the unit's DC input. Because Photon AC is DC-native, there is no inverter to wire — the panels feed the compressor directly, which is what eliminates conversion losses.
Power On & Test
Connect standard grid power for nighttime and cloudy-day backup. Power the system on and confirm it cools properly. On a sunny day the unit can use direct DC power from the panels; when sunlight drops, it switches to the grid automatically. Actual operation varies with available sunlight and system conditions.
Important Safety Note
In the United States, handling refrigerant requires EPA Section 608 certification. The line-set connection, vacuum, and refrigerant release should be performed by a licensed HVAC technician. Homeowners can typically handle siting, mounting, and panel placement, but always follow local codes and permitting requirements. Photon AC's dealer network can connect you with a trained installer in your area.
Why Photon AC Is Easier to Install
- No inverter to wire: DC-native compressor connects straight to the panels — fewer components, fewer points of failure.
- No batteries required: Runs on solar by day and switches to grid at night automatically — nothing extra to mount or maintain.
- True complete kit: Panels, mounting hardware, DC wiring, and line set all included — no last-minute parts runs.
- Single-day installs: Most single-zone systems are up and cooling in 4–8 hours.
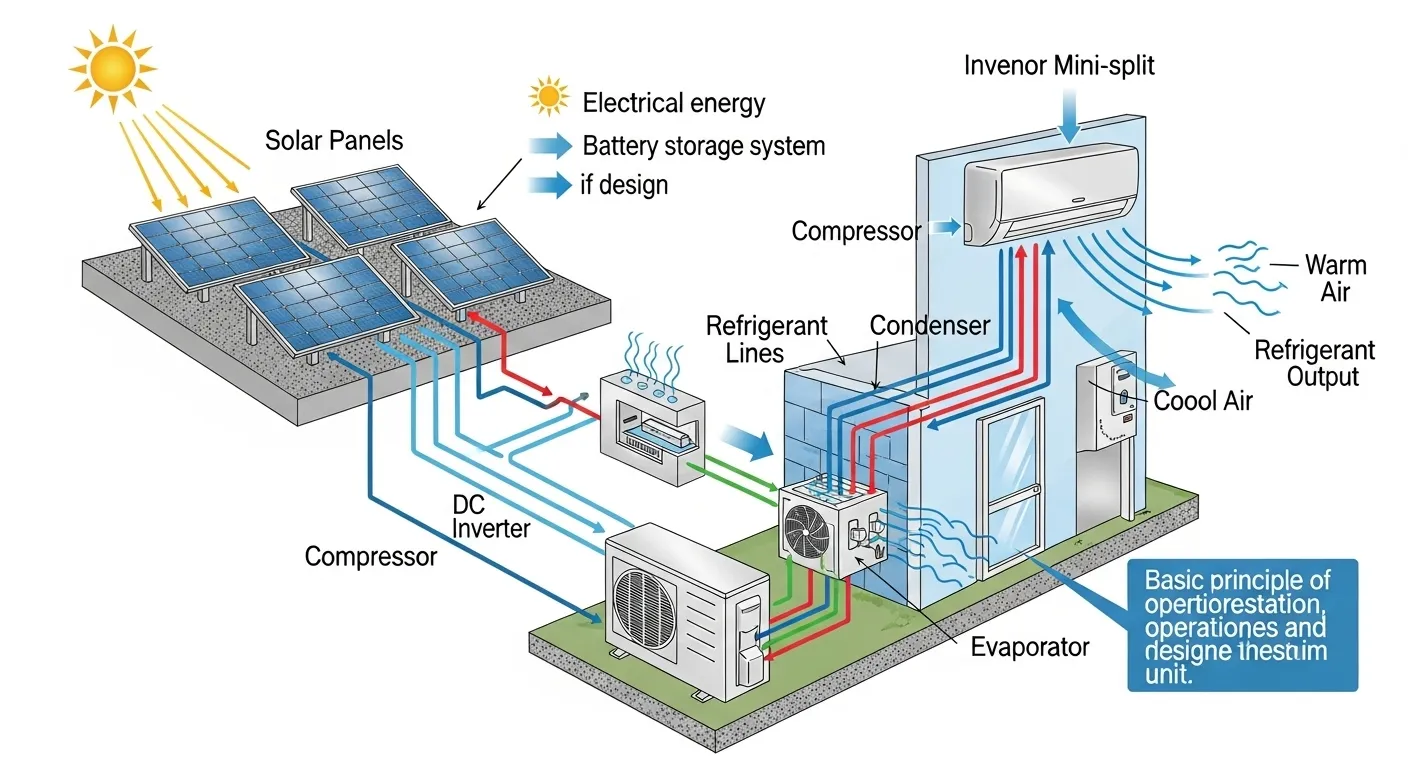
Photon AC's ACDC hybrid system powers the compressor directly from DC solar panels — which is why installation needs no inverter.
Frequently Asked Questions
Can I install a solar-powered air conditioner myself?
You can handle the siting, mounting, and solar panel placement, but the refrigerant line set must be vacuumed and connected by a licensed HVAC technician — handling refrigerant without EPA certification is illegal in the U.S. Photon AC's dealer network can connect you with a trained installer.
How long does it take to install a solar mini split?
A standard single-zone Photon AC install takes about 4 to 8 hours. Because there's no inverter to wire, it's faster than competing solar AC systems.
Do I need an inverter or batteries to install a solar AC?
No. Photon AC's ACDC hybrid compressor runs natively on DC from the panels, so there's no inverter and no batteries. The included DC wiring connects the panels directly to the unit, which switches to grid power automatically at night.
Which way should the solar panels face?
In the Northern Hemisphere, face panels south, tilted to roughly your latitude, and avoid shade. Proper orientation keeps the system producing enough DC power through peak afternoon cooling hours.
What tools do I need?
A drill with a hole saw, a level and stud finder, adjustable and torque wrenches, and a vacuum pump with a manifold gauge set. The panels, mounting hardware, and DC wiring come in the complete kit.
Ready to Install Direct-Solar Cooling?
Photon AC ships a complete kit with everything your installer needs in the box. Find a dealer near you or explore the product lineup.